
Second, I guest posted at my friend Tyson's blog last week - here's what you missed:
Hello Everyone!! I'm Allie, wife to my best buddy, mama to two girls, and owner and operator of The Graceful Rose. I live in Seattle, where yes - it rains A LOT! Why do people live here? Well, the days that are sunny, although they are few and far between, are absolutely stunning! Plus, I like coffee so...it helps that there are 6 Starbucks within a half a mile ;-)

here's my little family at a recent wedding - don't worry, we are NOT this facy every day!
I'm so honored that Tyson asked me to share a bit of my world with you! I always loved arts and crafts as a kid, but I honestly didn't do a whole lot of it until I became a mom. I learned to sew in middle school (thanks, Mrs. Thompson!), but never touched a sewing machine until my girls were about 4 and 2. Since then, I've really enjoyed sewing, especially since there are so many great fabrics and patterns out there! My hobby recently turned into a business, which has been great, but has left me needing to add a few organizational tools to my craft room. So, I'm going to share a tutorial for turning any old frame into a customized memo/inspiration board.
First, let's chat about what you'll need:

- A frame - Mine was on clearance at IKEA
- foam board
- fabric - I used this cute print from the Nicey Jane line by Heather Bailey - love her!
- spray adhesive
- X-acto knife and self-healing cutting mat
- fabric marking pen and fabric scissors
- spray paint (optional)


(waaaaaaah!)
If you want to spray paint your frame, now is the time to do it. Use at least two coats to make sure the color is even! While it's drying...
Trace the liner of your frame onto your foam board.
Using your self healing cutting mat as a base, carefully cut the shape out with your X-acto knife.

Place your foam board shape onto your fabric (right or wrong side - either is fine). Trace the shape with your fabric marker and cut out.

Spray the foam board with adhesive and press your fabric on top. You could cut the fabric a few inches bigger than your shape and just glue it to the back, but I find that can be bulky and not sit well in the frame, so spraying it with adhesive is my preferred method. If you have any wrinkles, get out an old gift card and smooth them out.

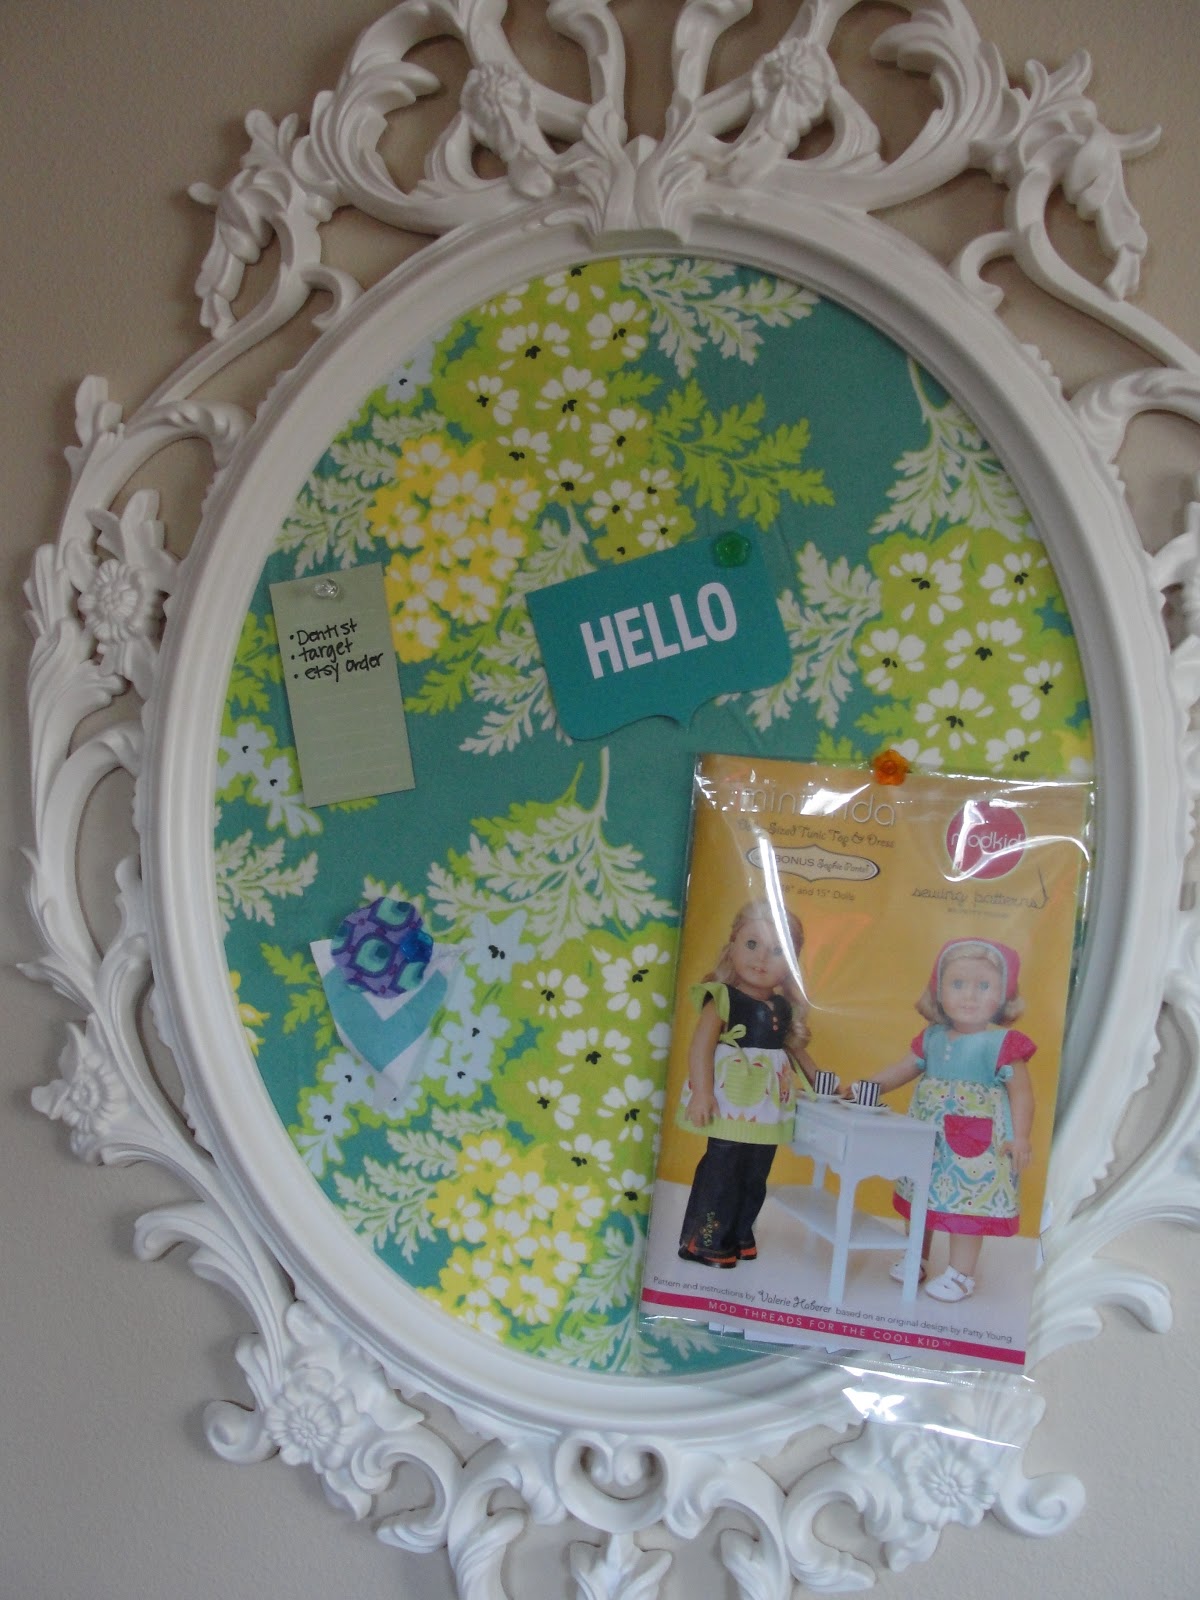
Place the fabric covered board back into your frame and voila! A custom bulletin board to use however you like.

I chose to hang mine in my craft room and use it as an inspiration board, but of course, this would be cute anywhere you need a message center - landing area by the front door, a kid's bedroom, etc. You could even go buy some T-pins at the fabric store and use them to hang up your jewelry. The possibilities are endless :)

I hope you make a custom bulletin board for yourself! Feel free to stop by The Graceful Rose Blog and say hi! Thanks again, Tyson, for having me!
Linking up with:


So pretty! I love the frame, the fabric, the colors- EVERYTHING! Thanks so much for sharing. Have a wonderful day!
ReplyDeleteAny time! Thanks for stopping by :)
ReplyDeleteSo beautiful! Love how it turned out :-)
ReplyDeleteThank you! And thanks for stopping by :)
DeleteThat is so pretty!!! I'm pinning so I can copy :)
ReplyDeleteHeidi @ handmadefrenzy.blogspot.com
Thank you! And thanks for stopping by :)
DeleteThis is so cute! Wish I was this crafty!
ReplyDeleteAwww, thank you! It's easy, I swear :) I hope you make one for yourself soon! Thanks for stopping by!
DeleteIt's very pretty, I really love the addition of the fabric!
ReplyDeletestopping by from the DITTO DIY link party today! :-)
Ingrid
Such a cute idea!
ReplyDeleteAnjana @ http://happyandharried.wordpress.com
LOVE this. I'm also kinda crazy about that beautiful fabric you chose. Thanks so much for linking up to Ditto DIY!
ReplyDeleteKelly @ View Along the Way
Adorable! Funny enough, I saw that frame at Ikea the other day and picked it up for my daughter's bedroom makeover! I can't wait to put it to use
ReplyDelete