
Hello Cottage Mama readers! I'm Ayelet (that's I-Yell-Et, it means "gazelle" in Hebrew), and when I'm not chasing my 8 and 6 year old girls around, I'm sewing and blogging over at The Graceful Rose. Like a lot of you, I first learned to sew in home ec. classes, but rediscovered it when I became a mom. I remembered the basics, but looked to all of the wonderful sewing tutorials in the blogosphere for guidance and inspiration, especially Lindsay's blog...I've always been drawn to her vintage influenced style and of course, those fabulous fabric combinations. I've made several of her patterns, and have had so much fun testing for her this year. I'm so honored that she asked me to share this tutorial with you!


Looks so cozy, right? Let's get started!
Supplies:
- 1 15 x 60 inch strip of fabric for the outer layer (my flannel fabric was only 45 inches, so I sewed two 30 inch long pieces together, for the knit, I just cut 14 x the width of fabric)
- 1 15 x 60 inch strip of fabric for the inner layer
- 1 6 x 8 inch rectangle for the cuff
- 1 4 x 45 inch strip for the optional flower
- 1 or 2 buttons
- invisible thread OR hand sewing needle
- Sewing machine, matching thread, scissors, rotary cutter and mat (not required, but super helpful!), and if you're like me, a seam ripper :D

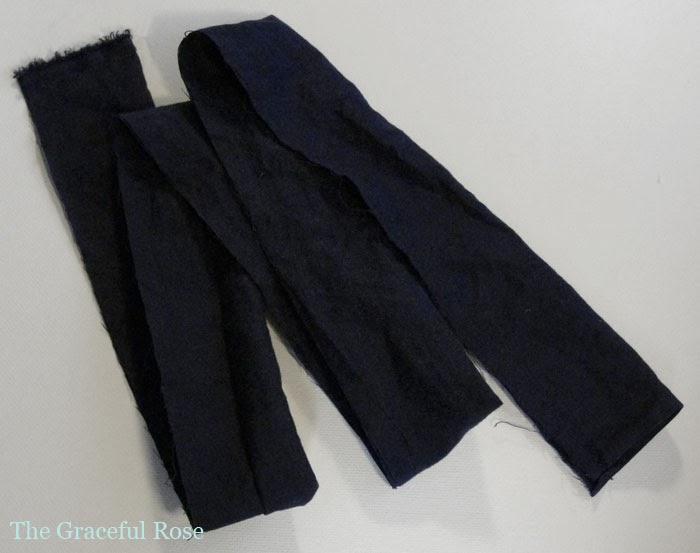
Lay your strips right sides together, and pin. Sew along both long sides, leaving a 4-6 inch opening on one of the long sides.

Both short ends should be open:

You should have a long tube. Now, put your arm into the tube and pull the other end towards the open end.

Making sure that the inner layer isn't twisted, line all of the raw edges up. Your scarf will look like a tube within a tube with raw edges at one end.

Sew along the length of the raw edges. Press the seam open. Turn your scarf out through the opening you left earlier. Your seam should look like this:

Now, either edge stitch the opening shut with invisible thread or hand sew it using a slip stitch. Here's a great video tutorial.
For the cuff, take your 6 x 8 inch rectangle and fold it in half lengthwise, so that the right sides are together. You should now have a 3 x 4 inch rectangle with the fold being along the 4 inch side.

Sew along one of the short edges and around to the long edge. Clip your corners, turn right side out, and press. Fold raw edge under 1/2 inch and press. Top stich all the way around.

Add a button hole or two, depending on the buttons you want to use, to one of the shorter ends.
Sew your buttons on the other end, and voila! You're done!
To make the flower, fold your 4 x 45 inch strip together to make a 2 x 45 inch strip. Sew along the long edge and one short edge to form a tube. Clip corners and turn tube right side out, then press.
Begin rolling the fabric strip and hot glueing or hand sewing as you go. I glued a flat back pin to the back and just pinned it to the cuff.


And there you have it! One cozy, fashionable scarf!
Thank you so much for letting me stop by, Lindsay! I had so much fun sharing my Cuffed Infinity Scarf Tutorial with you :) I hope you'll stop by The Graceful Rose to check out my other tutorials and sewing projects soon!
***If you don't sew but would like your own kid sized infinity scarf, I've still got a few listed in the shop!***
These are just precious!! Lovely smilles! Thanks for sharing tutorial!
ReplyDeleteHave a wonderful week!
Hugs from Portugal,
Ana Love Craft
www.lovecraft2012.blogspot.com
This looks so pretty. What gorgeous little models you've got! Pinning.
ReplyDeleteSuper cute! Love the button and the flower =) I'd love it if you'd share this at my link party, going on now! http://accidentallywonderful.blogspot.com/2014/01/accidentally-wonderful-wednesday-3.html
ReplyDeleteGreat job! I love the button & flower accents!
ReplyDelete