We are just a few days away from leaving on our vacation to Disneyland (!!!), but I had some time to make this sweet little dress for my Sofia The First fan. My youngest looooves the color purple and requested a Sophia Dress for the trip. Of course, I said yes :o) Since there aren't very many tutorials for a Sofia The First Dress out there, I thought I would show you a how I made it. Ready? Grab some purple fabric and get ready!
To start, I used the
same pattern for this dress that I did with the
Belle Dress. I used two shades of purple Kona cottonFor this dress, the only change that I made was the double the width of the skirt (for a size 6, it was two pieces that were 40 x 19), and to add the overskirt. To make the overskirt, I cut it 5 inches shorter than the underskirt (so, 40 x 14). Then I took each piece of fabric and cut it in thirds, width-wise. I ended up with 6 rectangles that were 13.3 x 14 inches. I folded each rectangle in half lengthwise and drew a rounded shape at the bottom of one:
It looked like a petal after:
And I used it as a template to cut the rest:
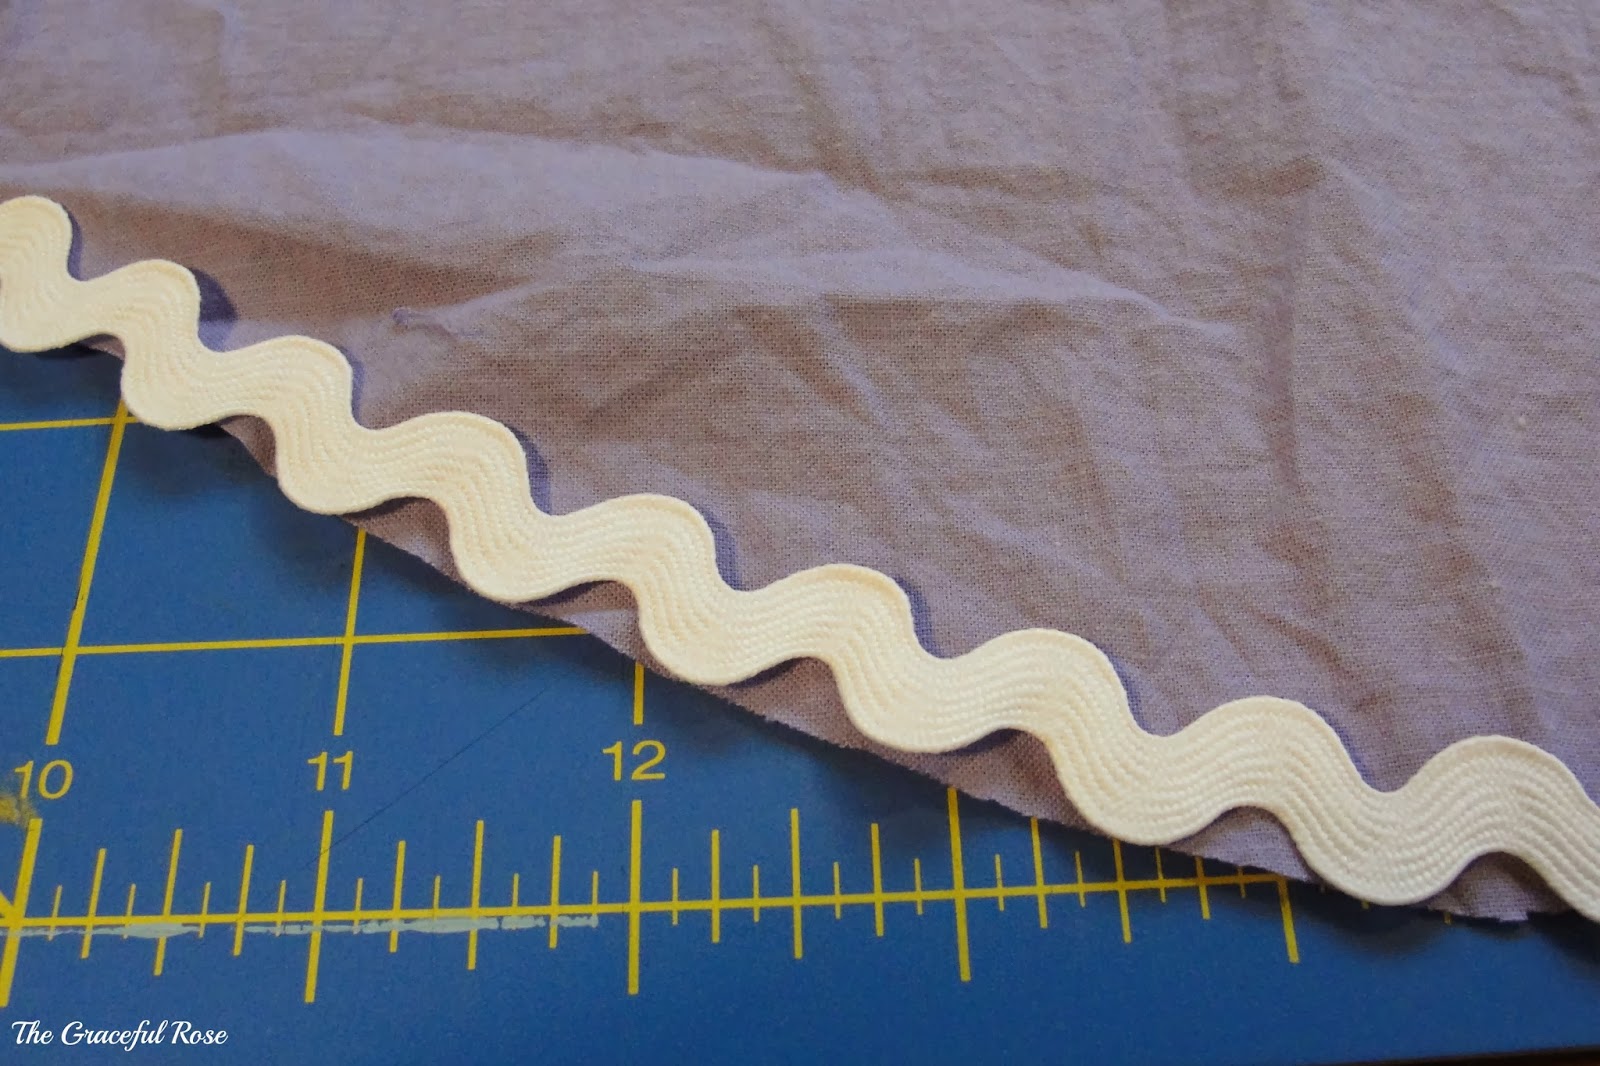
Then, to mimic the pearl trim on Sophia's dress, I pinned extra large white ric-rac along right side of the rounded edge of each petal. I didn't finish the edge because I was
lazy low on time, but you should totally serge or zig zag your edge.
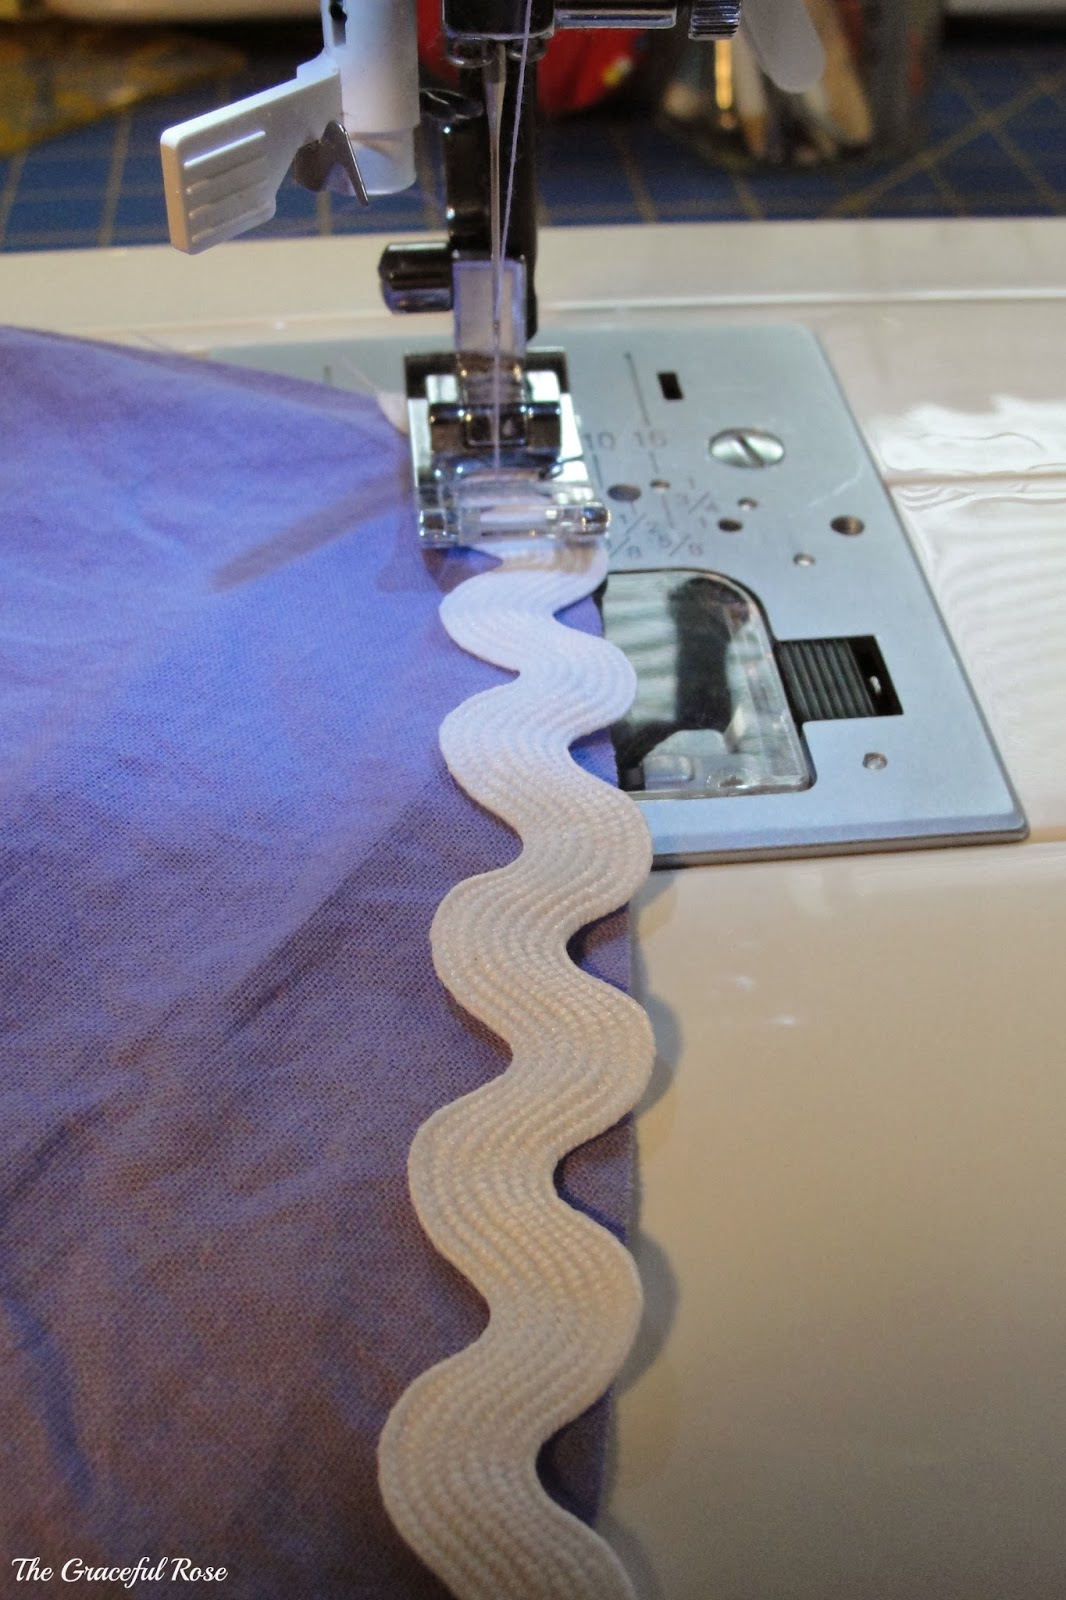
Stitch the ric rac down with a 3/8 inch seam allowance.
Then, turn under and press. Voila! A sweet "pearl" trim! This is by far my favorite way to hem a skirt, BTW - so easy! Be sure to top stitch too!
For the flower design on the skirt, I used
iron on material and my
Cricut - I used cut basic ovals and circles and placed them how I liked them. For iron on material, my best advice is to put a towel under the fabric that you are ironing onto, then make sure to press the iron on for at least 45 seconds. I just use my cell phone as a timer.
For the bodice detail, I just sewed lines of ric rac on either side to mimic the pearl detail on Sophia's bodice, and then I coiled some purple trim in the general design on the original version.
The final result: A cute, comfy, twirly dress perfect for my little princess!
I said in my
Belle Dress post that my girls never really liked the dresses that you can get in the parks and at the Disney store - they are itchy, tear and run easily, and drop glitter all over the house! With a few dollars of fabric and about 2 hours, you can make your princess her own custom gown - try it out and let me know how it works!
***This post contains affiliate links***
***ALSO: the Cricut Expressions 2 is ON SALE on Amazon right now!! That's an awesome price!***